
I’m so excited to share these little guys with you! I’m sitting here chomping away on some as I write this. It’s so nice having something growing in your home, especially while we’re all spending so much of our time between those four walls! And if whatever you’re growing can support your health as much as broccoli sprouts can, all the better.
Some of you have likely come across broccoli sprouts before, as growing sprouts and microgreens at home has become quite popular, but you may not have learned about them in the context of cancer yet. So, why are they so great for you and how can you start sprouting your own? Let’s find out 🙂
 Cruciferous Cancer Conquerors
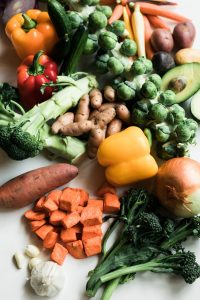
If you have read my diet guide (and if you haven’t, you can get it for free by clicking here), you will know that it was recommended to me while I was healing that I eat at least 3 cups of cruciferous vegetables every day. Cruciferous veggies are any that fall into the brassica family of vegetables, and they include cauliflower, brussels sprouts, radishes, cabbage, kale, bok choy, rutabaga, watercress and more – basically, anything that the Wicked Witch names off in Into the Woods (let’s just say it’s doubtful she would develop cancer should she, you know, exist in the real world).
Cruciferous vegetables have a superpower when it comes to cancer: they contain varying but high levels of supportive chemical components, in particular sulforaphane and indol-3-carbinol (I3C). These compounds “[…] have been revealed to be regulators of microRNAs (miRNAs) and inhibitors of histone deacetylases (HDACs) and DNA methyltransferases (DNMTs)” [1], which really are just big words for particular genes contained within our cells, including cancer cells. These genes, when mis-regulated or overexpressed by any of the many factors that contribute to the development of cancer (toxic burden, hormone imbalances, stress, low-quality sleep, poor diet, heavy metals, etc.), are responsible for the uncontrolled proliferation characteristic of cancer cells as well as for maintaining the viability of cancer cells [1]. By helping to regulate these genes back into proper expression and function, sulforaphane and I3C impact the pathways that cancer uses to proliferate and survive, making them potent anticancer substances.
For example, sulforaphane decreases the activity of histone deacetylases (as mentioned above), which leads to cell cycle arrest. It also reduces the activity of NF-kB (a protein complex that controls the replication of DNA, cytokine production, and cell survival) and downregulates inhibitors of apoptosis (natural cell death), leading to decreased cell proliferation and increased cell death, fighting two of the hallmarks of cancer cells. There is even evidence that sulforaphane increases the chemosensitivity of breast cancer cells [2].
And I3C is pretty impressive in its own right as well for some additional reasons. I3C, as well as one of its by-products diindolylmethane (DIM), have been shown to induce the creation of detoxification enzymes, which can result in the breakdown of dietary carcinogens [3]. I3C also has the potential to help regulate the proper metabolism of estrogen and “Studies increasingly indicate that dietary indole-3-carbinol (I3C) prevents the development of estrogen-enhanced cancers including breast, endometrial and cervical cancers” [4].
These are some pretty powerful plants!
 The Bounty of Broccoli Sprouts
So, why broccoli sprouts in particular, you may be asking?
Well, remember that compound, sulforaphane? Research has discovered that, “[…] sprouts of cultivars of certain crucifers including broccoli and cauliflower contain 10–100 times higher levels of glucoraphanin (the glucosinolate of sulforaphane) than do the corresponding mature plants.” 10-100 times!
And because of those high levels, you don’t need to eat a huge amount; 1-2 tablespoons a day is all you need. You would need to each so much more mature broccoli to reap the same rewards! It is important to note here though that broccoli sprouts actually have less I3C than its full-vegetable counter-parts, so that’s why it is important to include lots of mature cruciferous veggies in your diet as well. You can also get I3C and sulforaphane in supplement form, but we all know that when you can, it is always better to get a nutrient or compound in its naturally occurring state. However, it is a good idea to have have a sulforaphane supplement around for the days when you don’t have sprouts ready.
Let’s Get Sproutin’!
By this point, you might be thinking, “These sound awesome! But I have a brown thumb instead of a green one”, and this brings me to the other really wonderful thing about broccoli sprouts: they are insanely easy to grow! All you really need is a jar, a sprouting lid, and some seeds, and you’re good to go 🙂
Materials
- A sprouting jar or a wide-mouthed mason jar and a mesh sprouting lid
- A sprouting stand or a bowl or dish to lean your jar in
- Organic broccoli seeds (you can use other cruciferous sprout seeds, but broccoli and cauliflower have the highest levels of sulforaphane)
- Measuring spoons
- Filtered water (or tap if you don’t use a filter)
- Paper towel
- Glass storage container
Process
- Depending on how big your jar is, measure 1-2 tablespoons of seeds into the jar (I used 2 in the pictures below).
- Fill the jar with about 2-3 inches of filtered water, place the mesh lid on the jar, and let the seeds soak for 8-10 hours.
- Drain your seeds using the mesh lid, place the jar upside down in the stand, bowl or dish to allow any remaining water to drain out, and put the jar in indirect sunlight in a room-temperature location (just on your counter works well).
- Every day, rinse your seeds by adding some water, swirling the jar, and draining the water through the lid, before leaning the jar on an angle in the bowl again. Do this at least once a day, but I aim for twice (once in the morning and once in the evening) to ensure my little guys don’t dry out.
- You sprouts will probably be done around Day 5, but if you are growing more seeds (closer to 2 tablespoons instead of 1), it may take more like 6 or 7. Once you feel they can grow no more (you see that most of the seeds have sprouted and that they all have green leaves; see Day 6 and 7 pictures below), give them one last rinse and leave them on a windowsill in direct sun for 10-12 hours; this well help to develop their nice green colour.
- Once your sprouts are mature, line a glass storage container with paper towel (this is optional, but I find it helps prevent them from going soggy as quickly and allows them to last longer) and put your sprouts inside. Store in the refrigerator and enjoy as soon as possible, although they do seem to last at least a week in the fridge.
And that’s it! You will be ready to enjoy your sprouts in no time. I love to put them in salads, into my smoothies, and on sandwiches, but lots of times I just grab a little bunch that’s about a tablespoon and chomp ‘em down. They actually have quite a nice taste, to me anyway, like broccoli with a bit of the spiciness of radishes.
Take a minute to check out the photo diary below from the sprouts I grew last week and take note of the few things that I point out that you may run into.
Enjoy, and Happy Healing ❤️
Day 1
 Place your dry seeds in the sprouting jar, soak them, and drain them, leaving the jar on an angle in the bowl.
Day 2

Don’t forget to rinse and drain your aspiring sprouts! You should be seeing the sprouts just starting to break out of the seeds (notice the little white and yellow spots amongst the red seeds).
Day 3
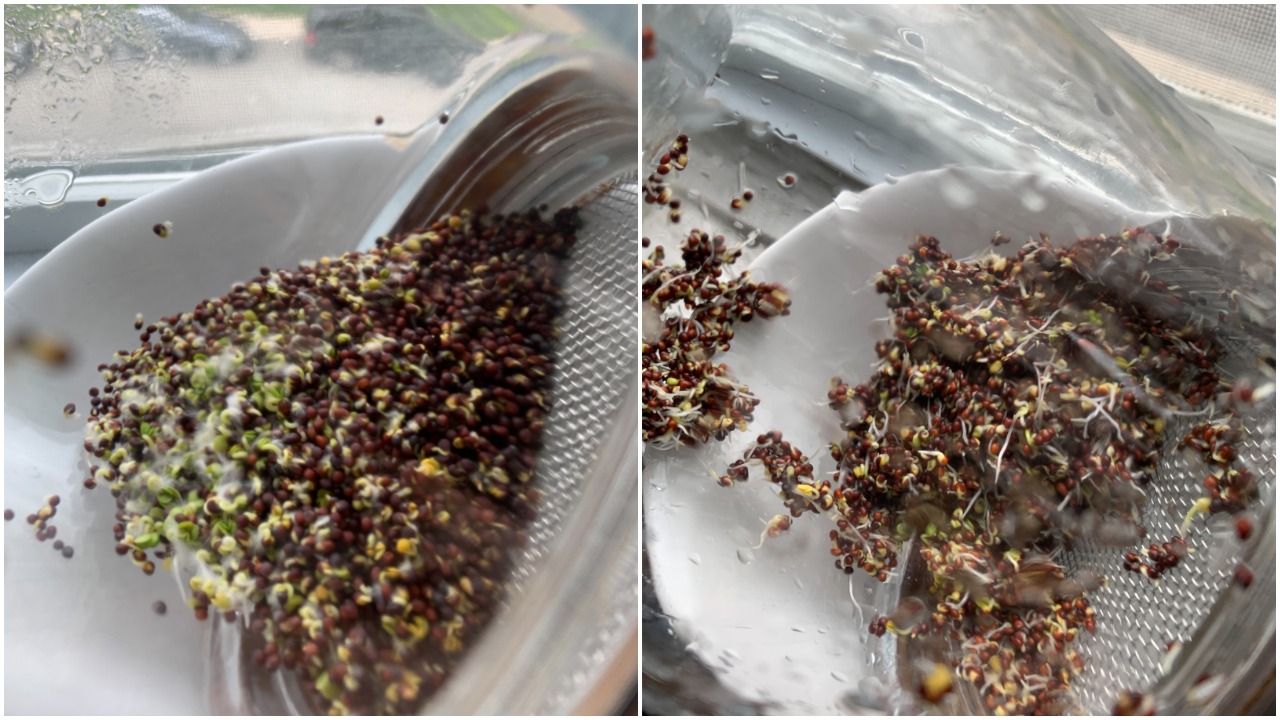
Picture 1 is before rinsing, and picture 2 is after. You should be able to make out actual little sprout roots today. You may notice on Day 3 that as the sprouts start to grow, they tangle with each other, forming clumps of unsprouted seeds. To give your buddies room to spread their sprouts, if you notice the seeds are still clumped together after rinsing, you can VERY gently break up the clumps with your fingers after you have added the rinse water and before you have drained it out.
You may also notice little white fuzzies on Day 3 (see picture number 1 for Day 3 above), but don’t worry, this isn’t mold! It’s just the first teeny tendrils coming off of the sprouts.
Day 4
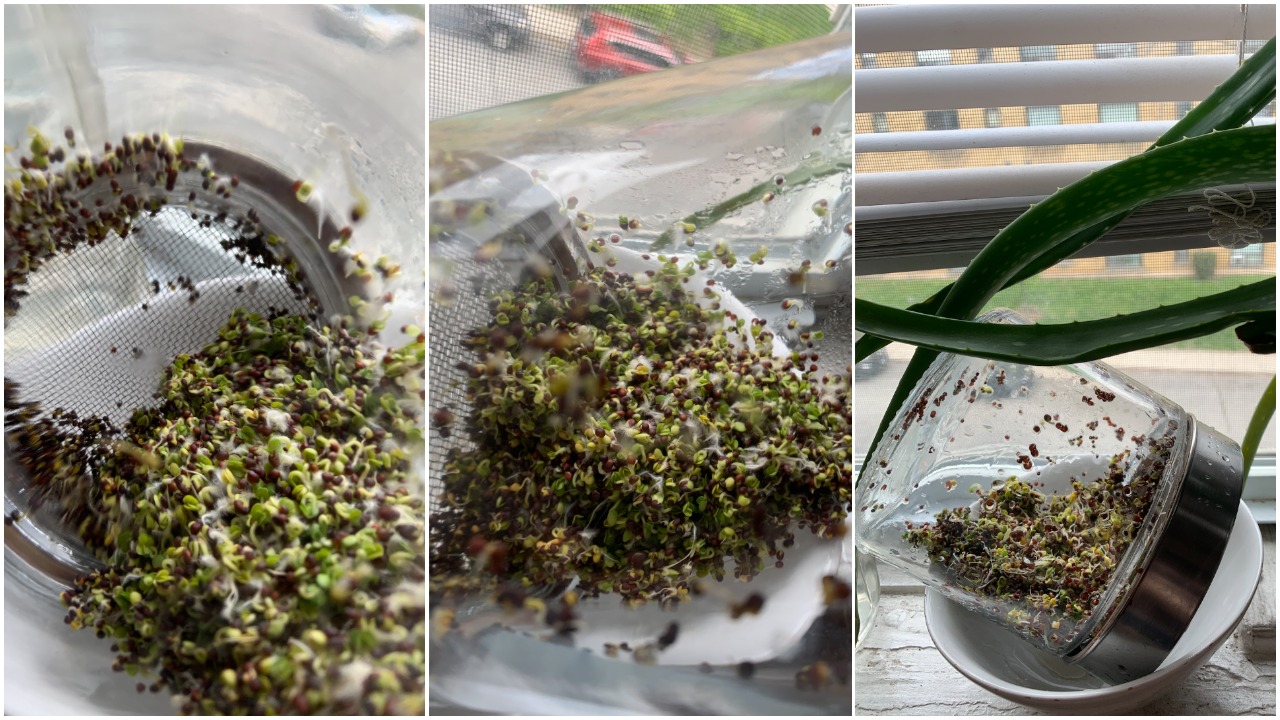
Pictures 1 and 2 are before rinsing, and picture 3 is after. Your sprouts should really be taking form by today and growing their little leaves. Around Day 4 or 5 you will probably notice a sulphur smell. This is totally normal and characteristic of cruciferous veggies. Just give them a rinse and this will fade.
Day 5
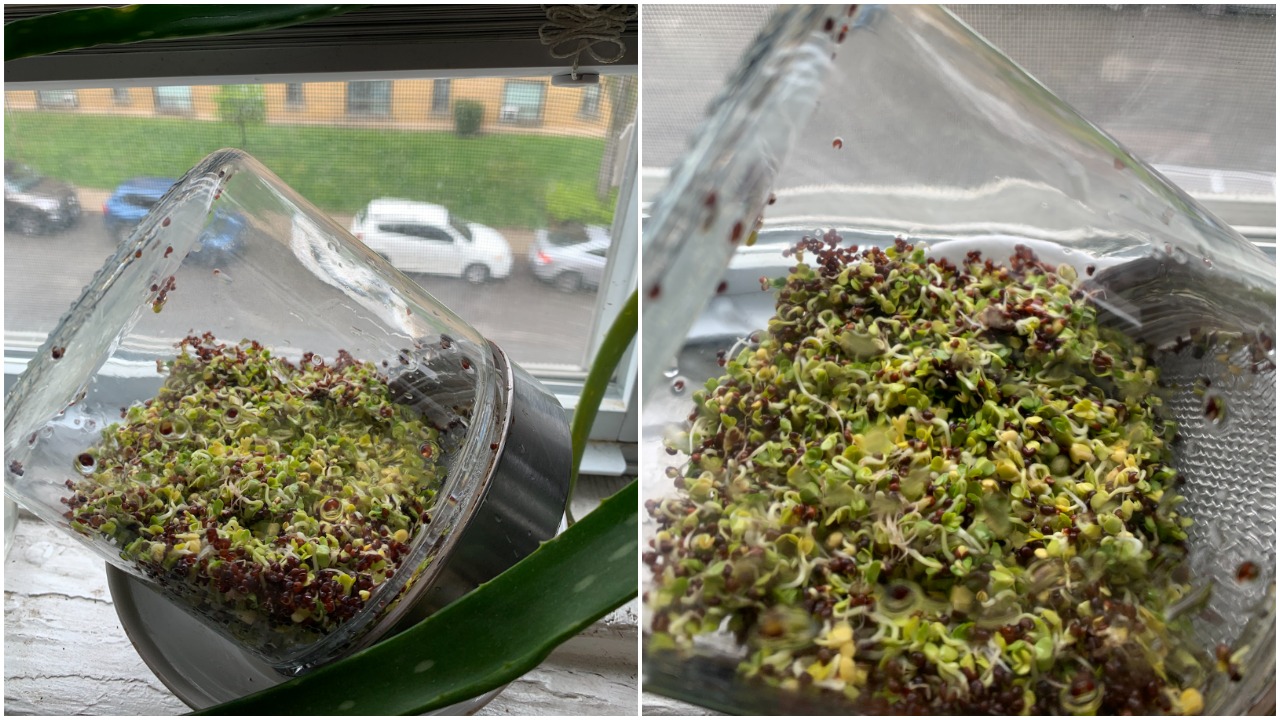
There should be more sprouts than seeds by today. And don’t worry if your sprouts look a little yellow; the last day when you leave them in the sun, they will green up nicely. Notice that you can still see a good number of seeds in the bottom corner of the jar (first picture). This is a good indication that they need a little more time. If you DON’T see a lot of seeds left, your sprouts are ready for the sun.
Day 6
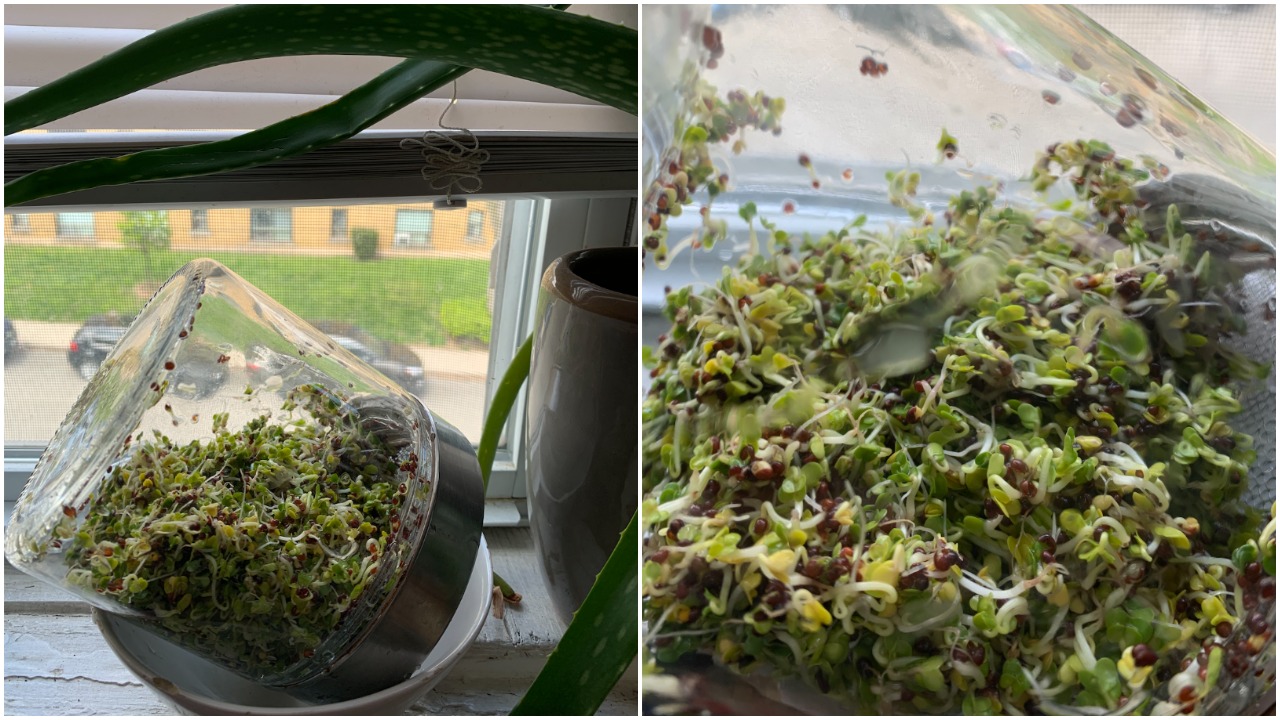
Your sprouts are almost ready to work on their tan! You can see that there are only a few seeds left in the jar unsprouted. You can put them in the sun now if you’re impatient, or you can give them one more day if you want to. If you leave them, the sprouts will likely get a little plumper (see pictures below), although there won’t be more sprouts than there are now, so it’s your call whether you want to leave them until Day 7 or not.
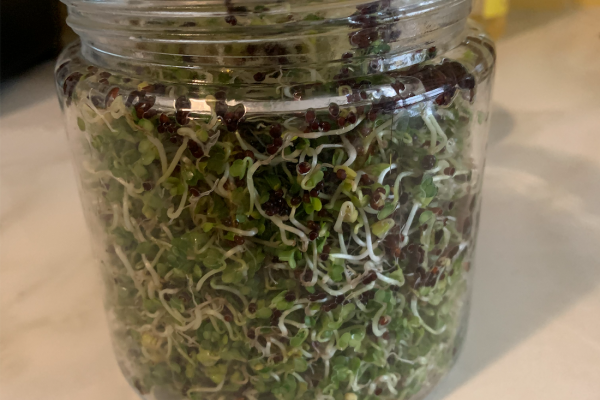
Day 7 – Morning

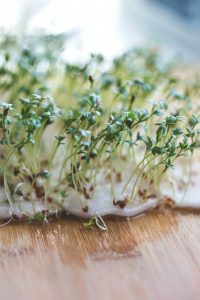
Your sprouts are ready for their sunbath! Give them one last rinse and place them in direct sunlight for 10-12 hours, during which time they will turn a lovely, vibrant green.
Day 7 – Evening
It’s time to store your sprouts! Notice how much more green they are after their time in the sun.
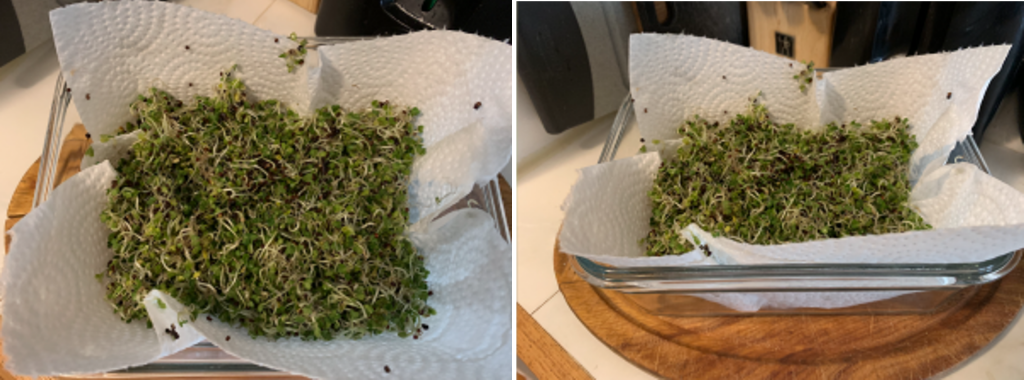
Place your sprouts in their storage container with paper towel lining it (this is optional, but I find it helps to keep them fresh longer by preventing them from getting soggy). However, if you aren’t going to start sprouting again right away or you have more than one sprouting jar, you can always just store them in their jar.
References
- The Epigenetic Impact of Cruciferous Vegetables on Cancer Prevention – https://www.ncbi.nlm.nih.gov/pmc/articles/PMC4354933/
- Targets and mechanisms of sulforaphane derivatives obtained from cruciferous plants with special focus on breast cancer – contradictory effects and future perspectives – https://www.sciencedirect.com/science/article/pii/S0753332219352576
- Indole-3-carbinol: a plant hormone combatting cancer – https://www.ncbi.nlm.nih.gov/pmc/articles/PMC5989150/
- Indole-3-carbinol Is a Negative Regulator of Estrogen – https://pubmed.ncbi.nlm.nih.gov/12840226/

0 Comments